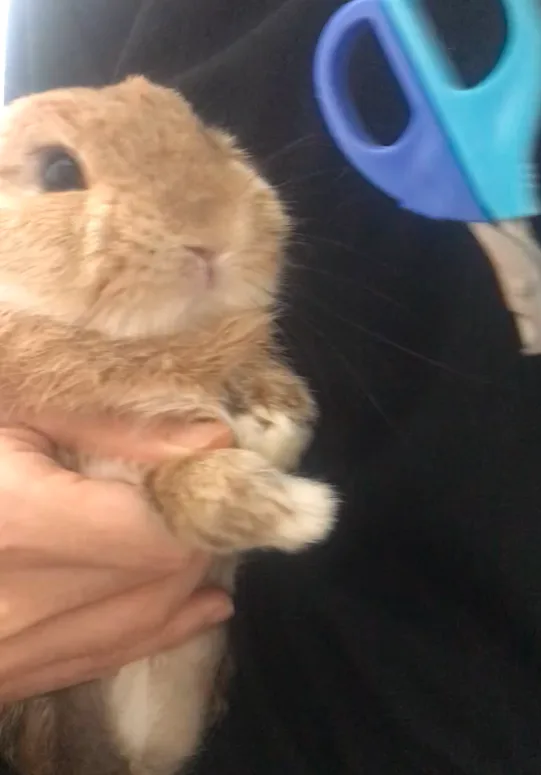
Trimming your rabbit’s nails is one of those things every owner knows they should do but keeps putting off. I get it — holding a squirming rabbit while trying to clip tiny nails without hitting the blood vessel sounds terrifying. I avoided it for months when I first got my Netherlands Dwarf.
That avoidance cost me. His nails grew so long that one day, while running around the room, a nail caught on something and broke off. There was blood on the floor, and my rabbit was clearly in pain. That was the moment I decided: I need to learn how to trim rabbit nails myself, no more excuses.
Two years later, I do it solo every two weeks. No helper, no vet visits, no drama. Here’s exactly how I got to this point and how you can too.
What You Need Before Your First Rabbit Nail Trim
The actual clipping takes about 5–10 minutes once you and your rabbit are both comfortable with the process. Getting to that comfort level is the part that takes weeks. Don’t rush it.
Here’s what you need:
- Scissor-type nail clippers — I use the scissor style, not the guillotine type. Scissor clippers give you better visibility of where you’re cutting, which matters a lot when you’re trying to avoid the quick. They’re also easier to control with one hand.
- Styptic powder or cornstarch — Keep this nearby every single time. If you accidentally cut the quick, you need to stop the bleeding immediately. I’ve never had to use it, but it’s always within reach.
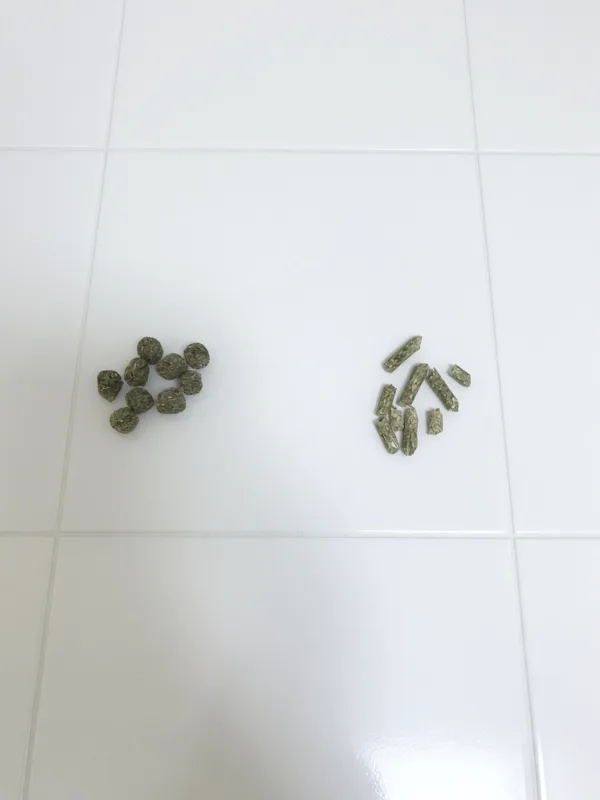
- Treats — I use Oxbow pellets and Genesis Timothy treats. These come out only after the entire trim is done and you’ve spent some time calming your rabbit down. More on that later.
- Good lighting — You need to clearly see the pink quick inside the nail. Natural daylight or a bright desk lamp makes a big difference, especially with darker nails.
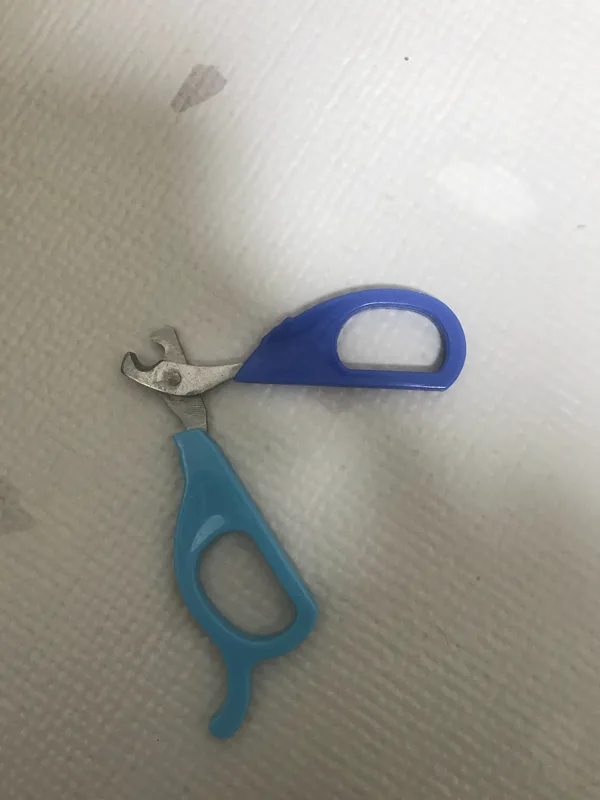
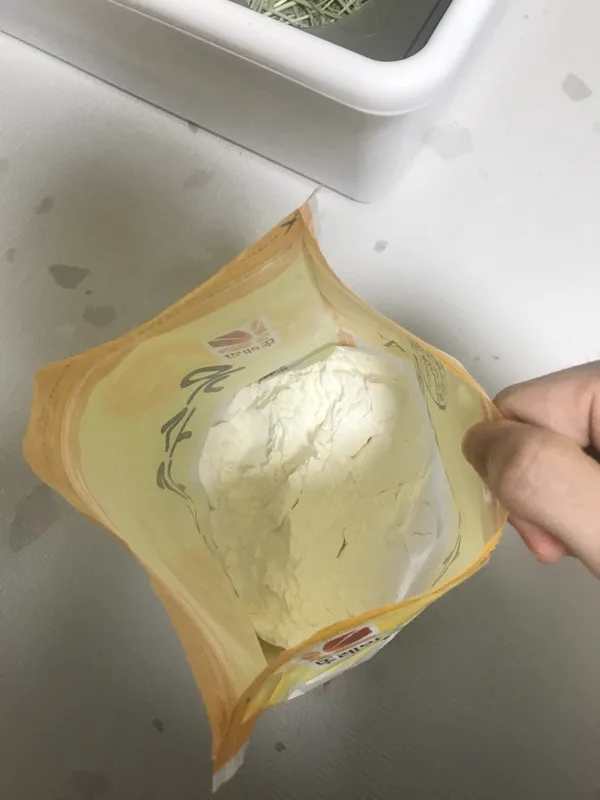
You don’t need a table or any special surface. I do everything holding my rabbit against my body — no table, no towel, no second person. Just me, the clippers, and my rabbit.
The biggest mistake people make before they even start? Skipping the handling training. If your rabbit isn’t used to being held and having their paws touched, no amount of technique will make nail trimming go smoothly.
The Foundation: Getting Your Rabbit Used to Being Handled
This is the step most guides barely mention, but it’s honestly 80% of the work. If your rabbit panics every time you pick them up, you’re not ready to trim nails yet. You need to build trust first.
Here’s how I did it, step by step over several weeks:
Week 1–2: Head and back only. Just pet your rabbit’s head and back while they’re relaxed on the ground. Don’t try to pick them up. Let them associate your hands with something pleasant. Do this daily, a few minutes at a time.
Week 2–3: Move to sensitive areas. Rabbits are protective of their hindquarters, tail area, belly, and especially their feet. Start gently touching these areas while petting their head. If your rabbit tenses up or moves away, back off and try again later. The goal is gradual — you’re not forcing anything.
Week 3–4: Paw handling. This is the critical step. Gently hold each paw for a few seconds while your rabbit is calm. Touch their toes. Spread them slightly. Get your rabbit used to the sensation of having their feet manipulated. If they pull away, let them, then try again. Don’t make it a battle.
Week 4+: Practice the position. Hold your rabbit the way you’ll hold them during nail trimming — cradled against your body like a baby, belly facing up, back resting on your forearm, your hand supporting their hindquarters. Just hold them in this position without actually trimming. Let them get comfortable with it.
This process took me about a month. Some rabbits might take longer, some shorter. The point is: don’t skip it. Every minute you spend on handling training saves you ten minutes of struggling during actual nail trims.
How to Trim Rabbit Nails: Step-by-Step Solo Method
Step 1: Pick the right moment. Trim when your rabbit is calm — after they’ve eaten, had their zoomies, and are in a relaxed state. Never try right after something stressful or when they’re full of energy.
Step 2: Cradle your rabbit. Pick them up and hold them like you’d hold a baby with one arm. Their belly faces up, their back rests along your forearm, and your hand supports their butt from underneath. This keeps them secure against your body with your other hand completely free for clipping.
Step 3: Start with the front paws. Gently take one front paw and spread the toes with your free hand. Rabbits have 5 nails on each front paw and 4 on each back paw — 18 total. Front paws are easier to access in this position, so always start there.
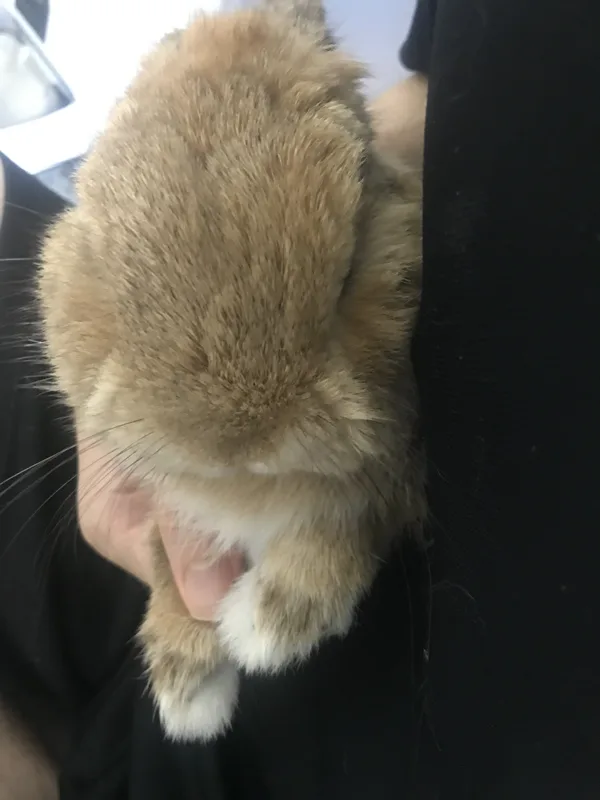
Step 4: Identify the quick. Hold the nail up to the light. In light-colored nails, you’ll see a pink line running through the center — that’s the blood vessel (the quick). You want to cut about 2mm past where the pink ends. In darker nails, use a flashlight behind the nail to see the quick. If you truly can’t see it, just trim the very tip — a small trim every two weeks is better than a big cut that risks bleeding.
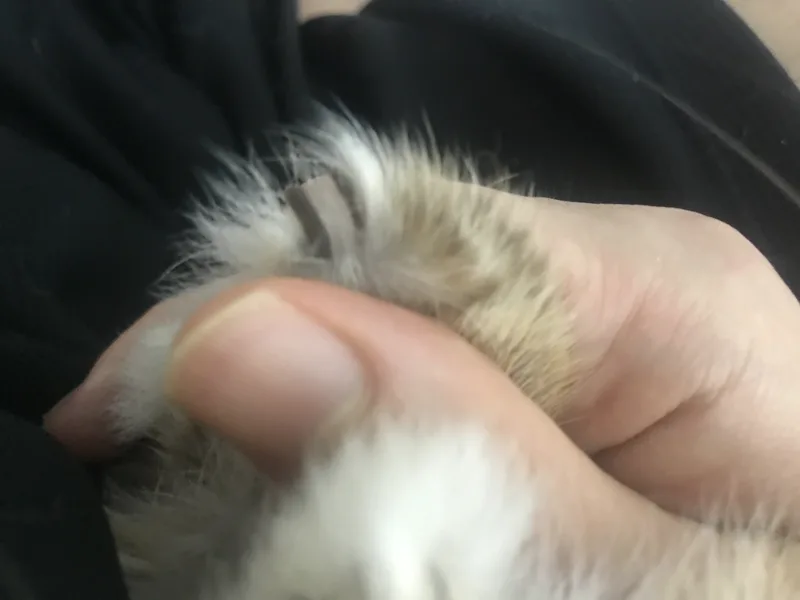
Step 5: Cut with a single, confident motion. Position the scissor clippers about 2mm past the quick and cut at a slight angle. Don’t squeeze slowly — a quick, clean cut is less stressful for both of you.
Step 6: Switch to back paws. This is the trickier part. While still cradling your rabbit with one arm, slide their head closer to your armpit so it’s tucked in snugly against your body. Use the hand of your cradling arm to hold one back paw steady, and clip with your other hand. The key is keeping their head tucked — it helps them stay calm and limits how much they can thrash.
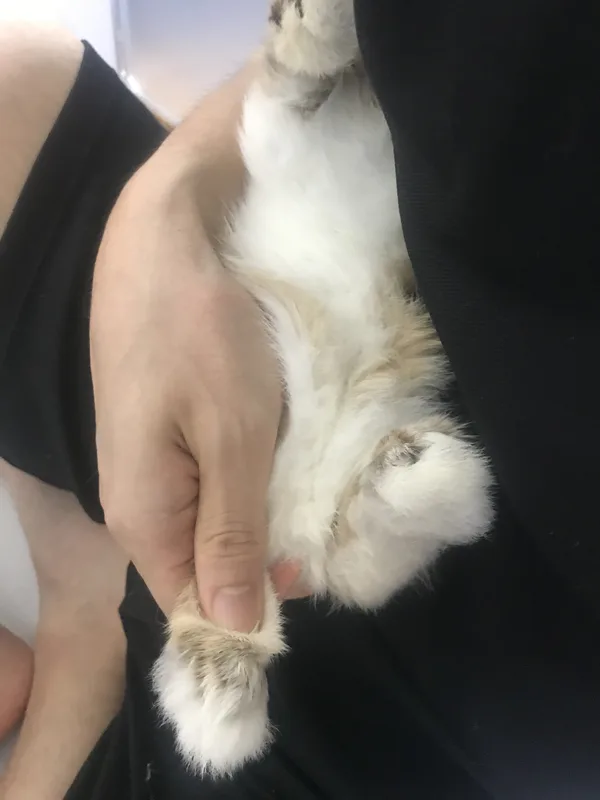
Step 7: Wind down with 5 minutes of petting. Once all 18 nails are done, don’t just put your rabbit down and throw treats at them. Keep holding them and pet them gently for about 5 minutes. Let them calm down completely. This post-trim bonding time matters — it teaches your rabbit that being held ends with comfort, not just being dropped back in their space. After the petting session, then give treats. I use a mix of Oxbow pellets and Genesis Timothy treats.
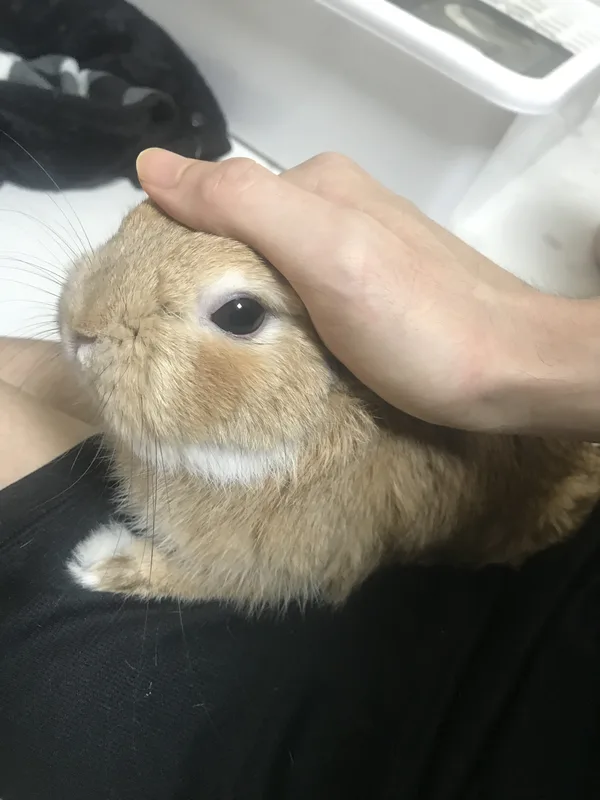
If your rabbit gets too stressed mid-trim: Sometimes the thrashing gets intense — your rabbit is clearly panicked, not just fidgety. When that happens, put them down and let them decompress for a few minutes. Then pick them back up and continue where you left off. It’s better to do the trim in two or three calm sessions than to force through one stressful marathon. Over time, as your rabbit gets used to the routine, you’ll be able to do all 18 nails in one go.
If you hit the quick: Don’t panic. Apply styptic powder or cornstarch directly to the nail tip and hold gentle pressure for 30 seconds. The bleeding will stop. Your rabbit will be fine — it hurts about as much as when you clip your own nail too short. Finish the remaining nails if your rabbit is still calm, or take a break and finish later that day.
Common Problems When Clipping Rabbit Nails (and How to Handle Them)
Problem: Your rabbit kicks and thrashes.
This is the most common issue, and here’s the single most important thing I’ve learned in two years: do not panic when your rabbit kicks. I cannot stress this enough. If your rabbit suddenly jerks and you flinch, loosen your grip, or jolt backward — the situation immediately gets worse. Your rabbit senses your fear, panics more, and now you’re both stressed.
When your rabbit kicks, stay calm. Maintain your hold — firm but not squeezing. Wait a few seconds for them to settle. Talk to them in a calm voice. Then continue. The first few times this happens, your instinct will scream at you to let go. Don’t. A rabbit thrashing in a secure hold is safe. A rabbit thrashing while you’re fumbling to regain control is how injuries happen.
Problem: You can’t see the quick.
Dark nails make it hard to spot the blood vessel. Use a bright flashlight or your phone’s flashlight held behind the nail. If you still can’t see it clearly, just trim the very tip — maybe 1–2mm. Doing small, frequent trims is much safer than trying to guess on a big cut.
Problem: Your rabbit won’t let you hold their back paws.
Back paws are harder because rabbits use them for kicking — it’s their defense mechanism. Go back to the handling training specifically for back paws. Spend a week just touching and holding their back feet during calm moments. When you do trim, save back paws for last when your rabbit is already settled into the session.
Problem: Nails are overgrown and the quick has extended.
If nails have been neglected, the quick grows longer with the nail. You can’t just cut them short all at once. Instead, trim a small amount every week. The quick will gradually recede as the nail gets shorter. It takes about 4–6 weeks of regular trimming to get overgrown nails back to a normal length.
What I Wish I Knew When I Started Trimming My Rabbit’s Nails
Every two weeks is the sweet spot. I tried monthly at first — the nails got too long between trims, which made each session harder because there was more to cut. Two weeks keeps nails at a manageable length and means you’re only taking off a tiny amount each time. Less to cut = less risk = faster sessions.
The desensitization work never really ends. Even now, two years in, I still regularly handle my rabbit’s paws outside of nail trimming sessions. A quick paw touch while petting, holding his feet for a few seconds during cuddle time. It keeps the trust built up so that nail day is never a shock.
The 5-minute wind-down changed everything. Early on, I’d finish trimming and immediately put my rabbit down. He’d bolt away and hide. Once I started spending 5 minutes just calmly petting him after each session, his attitude toward nail trimming shifted. He still doesn’t love it, but he doesn’t associate it with pure stress anymore. That quiet bonding time after the trim is just as important as the trim itself.
Don’t wait for a broken nail to motivate you. I learned the hard way — watching my rabbit limp with a bloody toe because I’d been too nervous to trim his nails. Regular nail care isn’t optional. Long nails catch on carpet, cage wire, and fabric. They can curl into the paw pad if left long enough. A broken nail is painful and can get infected. Five minutes of mild discomfort every two weeks prevents all of that.
You don’t need a helper. Most guides say to have someone hold the rabbit while you clip. That’s fine if you have help, but it’s completely doable solo. I’ve done it alone since the beginning. The cradle hold — belly up, back on your forearm, butt in your hand — gives you full control with one arm while your other hand clips.
Confidence matters more than technique. A calm, confident owner makes a calm rabbit. If you’re shaking and hesitating, your rabbit feels that energy. Commit to each cut. Move with purpose. Your rabbit reads your body language better than you think.
About Fluff Trail
Fluff Trail is a pet care blog built on real experience — not just research. With over two years of hands-on rabbit care, we share honest product reviews and practical tips to help you give your pet the best life possible. Learn more →